Calligraphy is a beautiful art form. This hobby is great for beginners can be quite easy to learn. However, can you learn calligraphy for free?
Sometimes jumping feet first into a new hobby can be intimidating and expensive. This can discourage people from trying out new things. However, calligraphy is one hobby that you can start with a low or even zero budget. Read on to find out how.
How To Learn Calligraphy?
The easiest way to learn the art form is to join online or in-person classes. However, this can be quite expensive. We have good news for you. With the rise in platforms like youtube and skillshare, there are many beginner calligraphy classes that you can take for free. This will help you learn the basics easily.
ON the other hand, if you are willing to shell out a minimal amount, then you can purchase a starter kit or a calligraphy ‘how to’ book. These are not expensive and will help you learn faster.
Calligraphy Styles You Can Learn With A Low Or Zero Budget
Learn fake calligraphy

Fake or faux calligraphy is easy to learn. Additionally, it does not require any special equipment for you to purchase. All you need to do is write the word in cursive. Then add an extra like on the downstrokes. Fill up the space in between the lines and clean up the writing. YOur faux calligraphy artwork is ready. You can do this with any pen you have lying at home.
Brush calligraphy
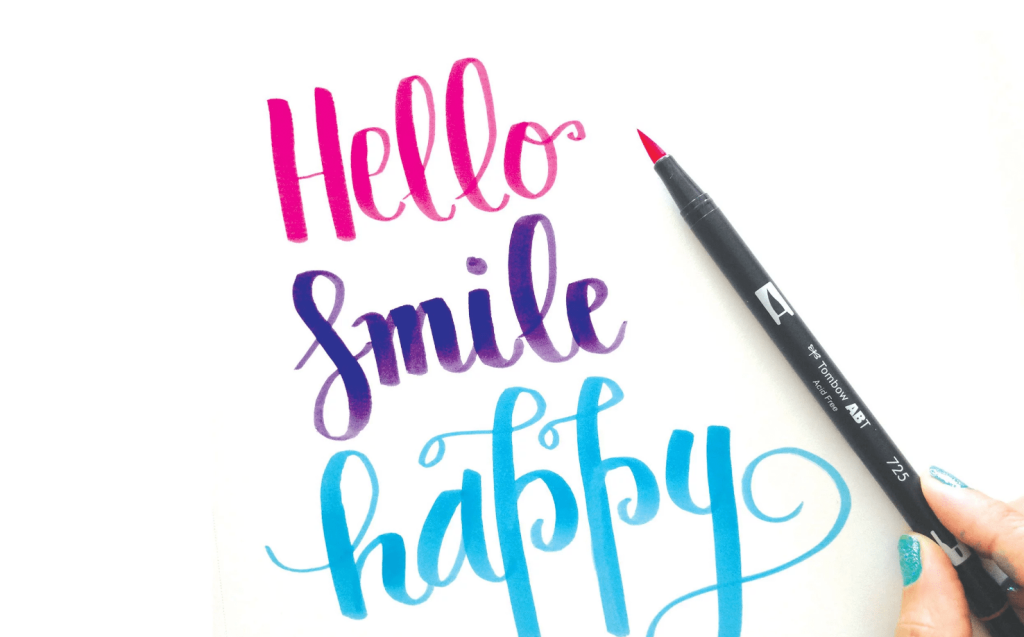
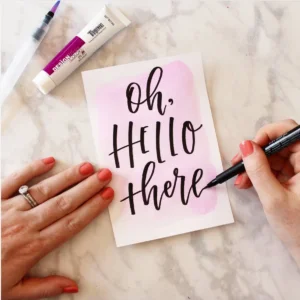
Brush calligraphy or brush letter is very similar to traditional calligraphy. You can create brush lettering artwork with any paint brush you have. The principle of calligraphy remains the same. Hence, apply heavy pressure on the downward stroke as you write an alphabet. Remember to apply light pressure on an upward stroke. This varying pressure is similar to what you do in traditional calligraphy with a dip pen.
Save Money On Materials While You Learn Calligraphy
You can save money on the materials you use for calligraphy. In traditional calligraphy, you require an expensive dip pen, ink and think paper. You can use the following as alternatives for this.
Calligraphy pens
- Purchase a single brush pen. A single pen is not very expensive and can be used to create beautiful artwork. However, there are a few things to keep in mind while doing so. Firstly, purchase a good quality pen rather than a set of 12 poor quality ones to ensure longevity and proper ink flow. Secondly, choose a pen that has a slightly flexible tip so that you can easily alternate between a thin upstroke and a thick downstroke.
- Buy a marker. Chisel tipped markers or highlighters are very cheap. Furthermore, you can easily create a thin and thick line using these. All you have to do is readjust the position of the marker while changing from an upstroke to a downstroke.
- Lastly, the cheapest option, use a ball pen or pencil. All of us surely have a pencil or pen at home. Use this to create beautiful calligraphy on the paper. Something to remember while using pencils is that you can achieve a lighter or darker line based on how much pressure you apply. Press lightly for thinner lines and press harder for a thick one
Inks
Calligraphy inks can be quite expensive. A great alternative to these is India ink or fountain pen ink. While these are thinner, they can still be used to create beautiful line work. Alternatively, you can use watered down acrylic or watercolour paint. In addition, you can experiment with other fluids like natural dyes and food colouring to see which work and which do not.
Paper
If you are starting out with faux calligraphy, then any notebook paper or A4 sheet can be used to practice. However, with brush calligraphy, this may not be possible as you can tear the thinner paper as you are using fluid inks to write. In this case, you can purchase a cheap children’s sketchbook. The paper in these books is 90 to 100 GSM, which is thinker than a notebook or A4 paper. alternatively, you can make your own handmade paper using the method given below.
DIY handmade paper
1. Collect all scrap paper from around your home.
2. Tear these papers into smaller pieces and soak them in warm water overnight. This makes the paper soft and it falls apart easily.
3. In the meantime create a frame to make the paper using ice-cream sticks or twigs. Arrange the sticks to form a rectangle frame and tie the ends to secure it. Then stretch a thin cloth over the frame and glue it down. This is what you will use to make the paper. You can also use a photo frame if you have one.
4. The next morning, remove the paper from the water. Then using an old blender, blend the paper into a puree.
5. Fill a shallow tub with water.
6. Take a handful of the paper puree and mix it in the tub.
7. Then carefully dip your frame in to collect paper on the cloth. Place it face down on a towel and use a sponge to remove all excess water by slowly dabbing the back of the frame.
8. Then gently remove the frame and repeat the process to make many sheets of paper.
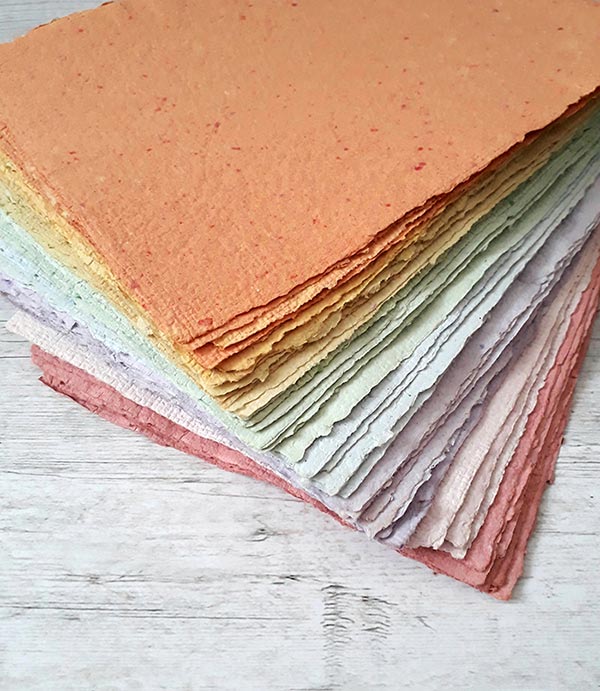
9. You can also mix paint with the paper puree before adding it to the tub to create coloured handmade paper.
Final thoughts
Calligraphy is one hobby you do not need money to start. Additionally, you can become proficient at it quite easily. All you need is continuous practice.
Podium school offers an easy to follow online class on calligraphy taught by the acclaimed painter Rajeev Kumar. By the end of the course, your child will have mastered all the major and minor techniques of both brush or modern calligraphy as well as traditional fonts. You can find more information here.
Share with your friends
